

ASP.NET Membership allows you to validate and store user credentials with built-in functionalities. It helps you manage user authentication in the web application. ASP.NET Membership is a self-standing feature for authentication. It can also be integrated with ASP.NET role management to provide authorization services for the web applications. Membership can also be integrated with user profile to provide application-specific customization tailored to individual users.
In a three-part blog series, we will go through the steps of this authentication and authorization process using ASP.NET membership and answer each of the following questions below. In this Part 1 of the series, we will address questions 1 and 2.
-
- If you have an existing database, how do you enable it with authentication and authorization? Should you re-invent the wheel, or just use the ASP.NET membership provider?
- If we’re using ASP.NET membership, can we integrate it with existing database?
- How do you create an MVC application, if one does not already exist? How does one handle authentication and authorization?
- What’s the limitation of the using the MVC5’s role base data annotation? How do we overcome it?
- Future migration to ASP.NET Core Identity (to be continued in the next topic)
STEP 1: Integrating ASP.NET membership with existing database—Should you roll-out your own or use the built-in ASP.NET membership provider?
When building the membership database for your existing corporate database, there are always pros and cons of the two options. By creating it from scratch, you could reduce the extra layer of complexity. It works great in the situation where corporate users only need the simple authentication for password reset. However, rolling out the in-house authentication system could be costly when the application grows bigger and bigger. And, it could possibly mean the need for re-architecting and re-implementing the in-house membership schema. What if your company also wants to integrate Google/LinkedIn single-sign-on with existing authentication? The developers will have to cover all aspects, and it could be handled by the planform’s security code, whether it be ASP.NET or something else.
The ASP.NET membership is not perfect. Yet, it is evolving and is a preferable way compared to building it from scratch. It is supported by a vendor with more releases for security patches and problems can be fixed more easily. It also provides good support when the corporate application has external customers; in this case, you can use OpenID.
The link below addresses how to add the membership to an existing database and how to use it in the ASP.NET MVC web application. If an existing database already exists, skip this step. To demonstrate it in a simple manner, we take the Model First approach and use the “School” as the existing database downloaded from: https://docs.microsoft.com/en-us/ef/ef6/resources/school-database. The “ASP.NET SQL Server Registration Tool” can be used to create a SQL Server database used by SQL Server Provider in ASP.NET. It can also be used to add/remove options from an existing database. The finalized database script is attached as shown in the image below.
The environment:
Visual Studio 2013
Microsoft SQL Server 2014
Microsoft .NET Framework 4.5
MVC5
Entity Framework 6
Existing Database: “School”
STEP 2: Add ASP.NET Membership to existing database
To add ASP.NET Membership, do the following:
1. Locate the “ASP.NET SQL Server Registration Tool” at “C:\Windows\Microsoft.NET\Framework\v4.0.30319\aspnet_regsql.exe.”
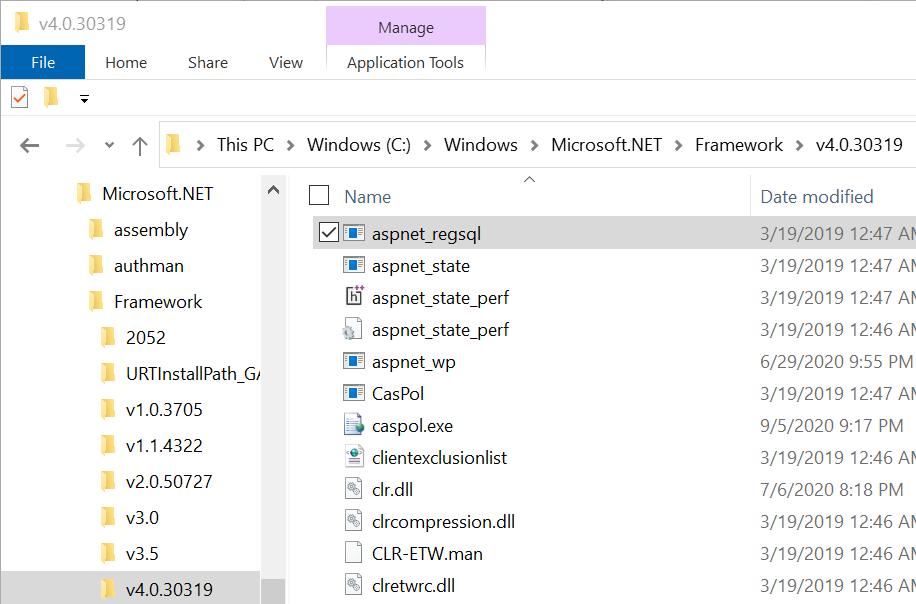
2. Run “C:\Windows\Microsoft.NET\Framework\v4.0.30319\aspnet_regsql.exe,” as an Administrator. The wizard starts, hit Next.
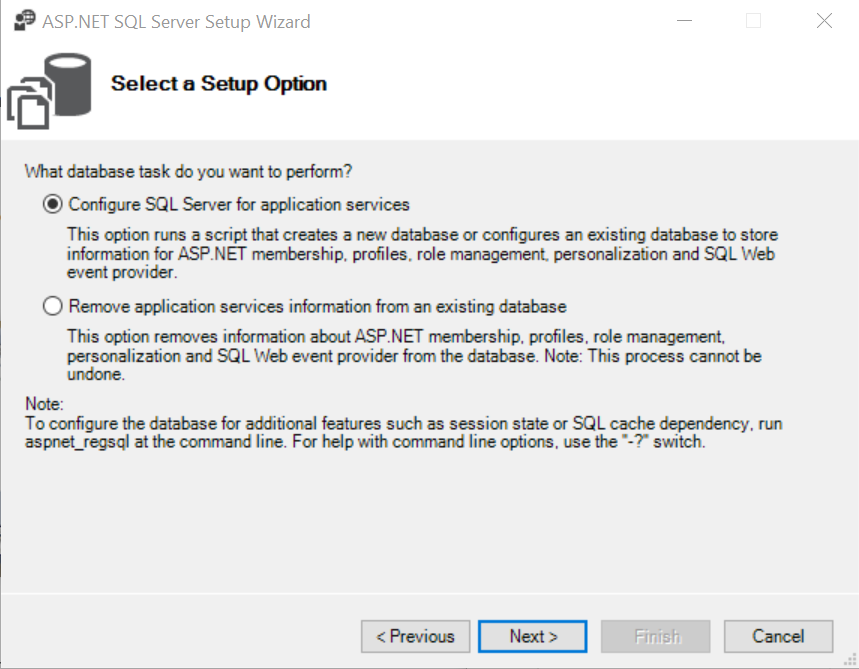
3. In “What database task do you want to perform?” dialog, select “Configure SQL Server for application services,” click “Next”
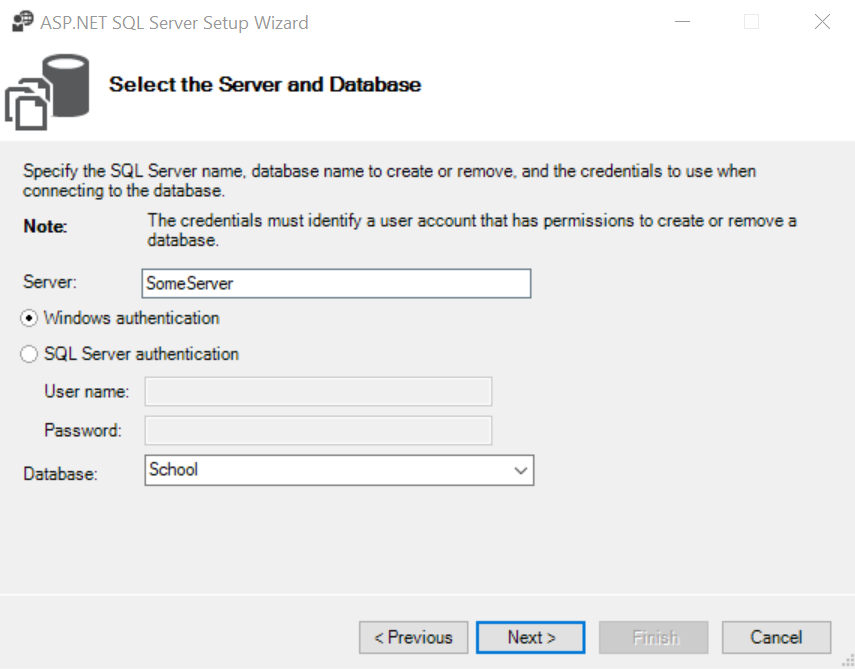
4. Select “Windows Authentication” and the existing “School” Database in “Select the Server and Database” dialog, and hit Next.
5. In “Confirm your settings” dialog, hit Next.
6. Click Finish when it’s done.
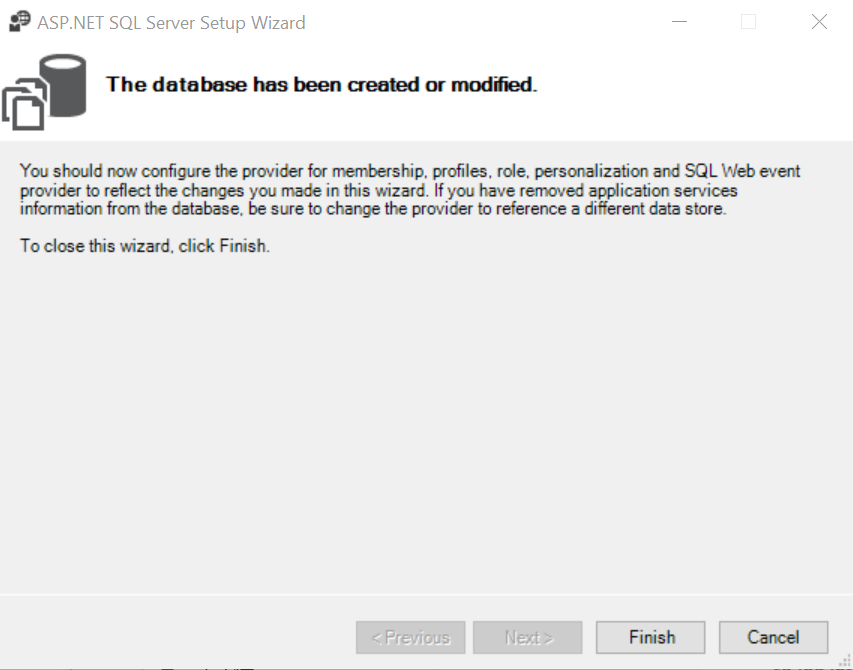
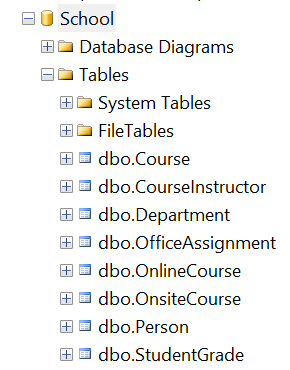
7. At this point, the ASP.NET membership is now integrated with the existing “School” database as shown below.
Tables:

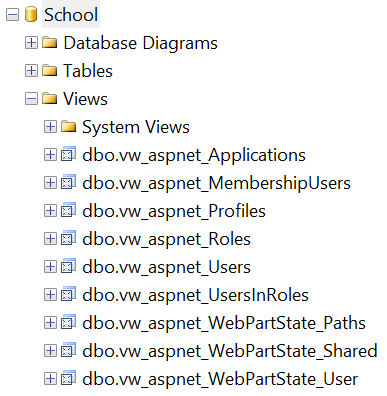
Views:
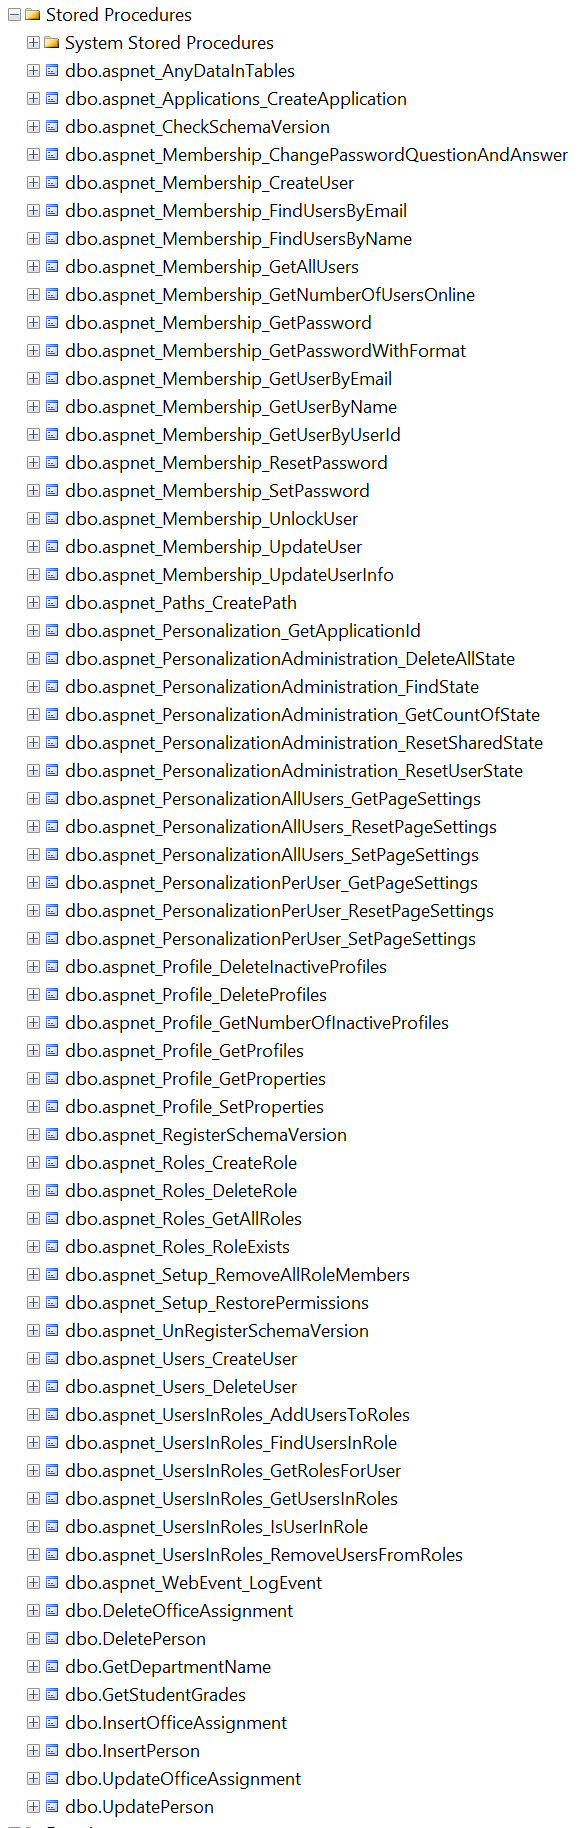
Stored Procedures:
In Part 2 and 3 of the series, we will continue addressing the questions related to creating an MVC application, enabling authentication and authorization, and overcoming limitations of the MVC5’s role base data annotation and future migration to ASP.NET core identity.